Sunday, January 15, 2017

Meals & Feels: Carnita Tacos, Friends, and the Unemployment Life

Have you ever noticed the types of conversations you have when you're enjoying a meal with friends? Drink in hand, taco in the other, I've heard people talk through future plans for music festivals, current job happenings, and everything in between. That's why I believe when you share a meal with someone, it's a special moment to gain insight about people and life in general. That's why I want to start "Meals & Feels", a series of posts to discuss my learnings about  life by sharing a meal with friends.


20170113_191616.jpg


Recently, a bunch of my friends got together and I catered the meal. On the menu: Sourdough Focaccia Bread, served with a Fig and Onion Jam and Butter; Mexican Restaurant Style Rice; Carnita Tacos; and Slutty Brownies (chocolate chip cookie dough on the bottom, oreos in the middle, and brownie on top).
20170113_192429.jpg


When I was explaining the menu to my friends, one in particular asked for a speech. I took a second and then spoke about my recent lay off. I shared with my friends that through everything that has happened, I have been able to pursue documenting my life as the Hangry Chef, as well as look into the food or travel industry in my next step in my career. I hope that my friends was able to hear my message that your job does not necessarily have to be your life, as you never know how long it's going to last. But if you're happy and pursuing what makes you happy, then that's all you can really do in life. Other than devour the brownies:
20170113_202116.jpg


Fortunately, my friend Roman Gutierrez Correa made an AMAZING video for you all to enjoy! If you enjoyed the video, please check him out on Fiverr (https://www.fiverr.com/romanguco/edit-your-raw-footage-into-a-fun-video?gig_id=66380539)
Music by Panthurr - https://soundcloud.com/panthurr


Recipe for Fig and Onion Jam:
20170107_181722.jpg


20170107_183403.jpg

20170107_184229.jpg


20170107_190106.jpg


Ingredients
25 Dried Figs, stemmed and sliced
1 cup water
1 tbsp unsalted butter
1 tbsp olive oil
1 medium red onion
3 tbsp balsamic vinegar


Directions
  1. Rehydrate the figs by tossing them in boiling water. Leave the figs on medium high heat for 5-10 minutes, or until all the water has been absorbed.
  2. Place the butter and olive oil in a shallow pan and place on medium heat.
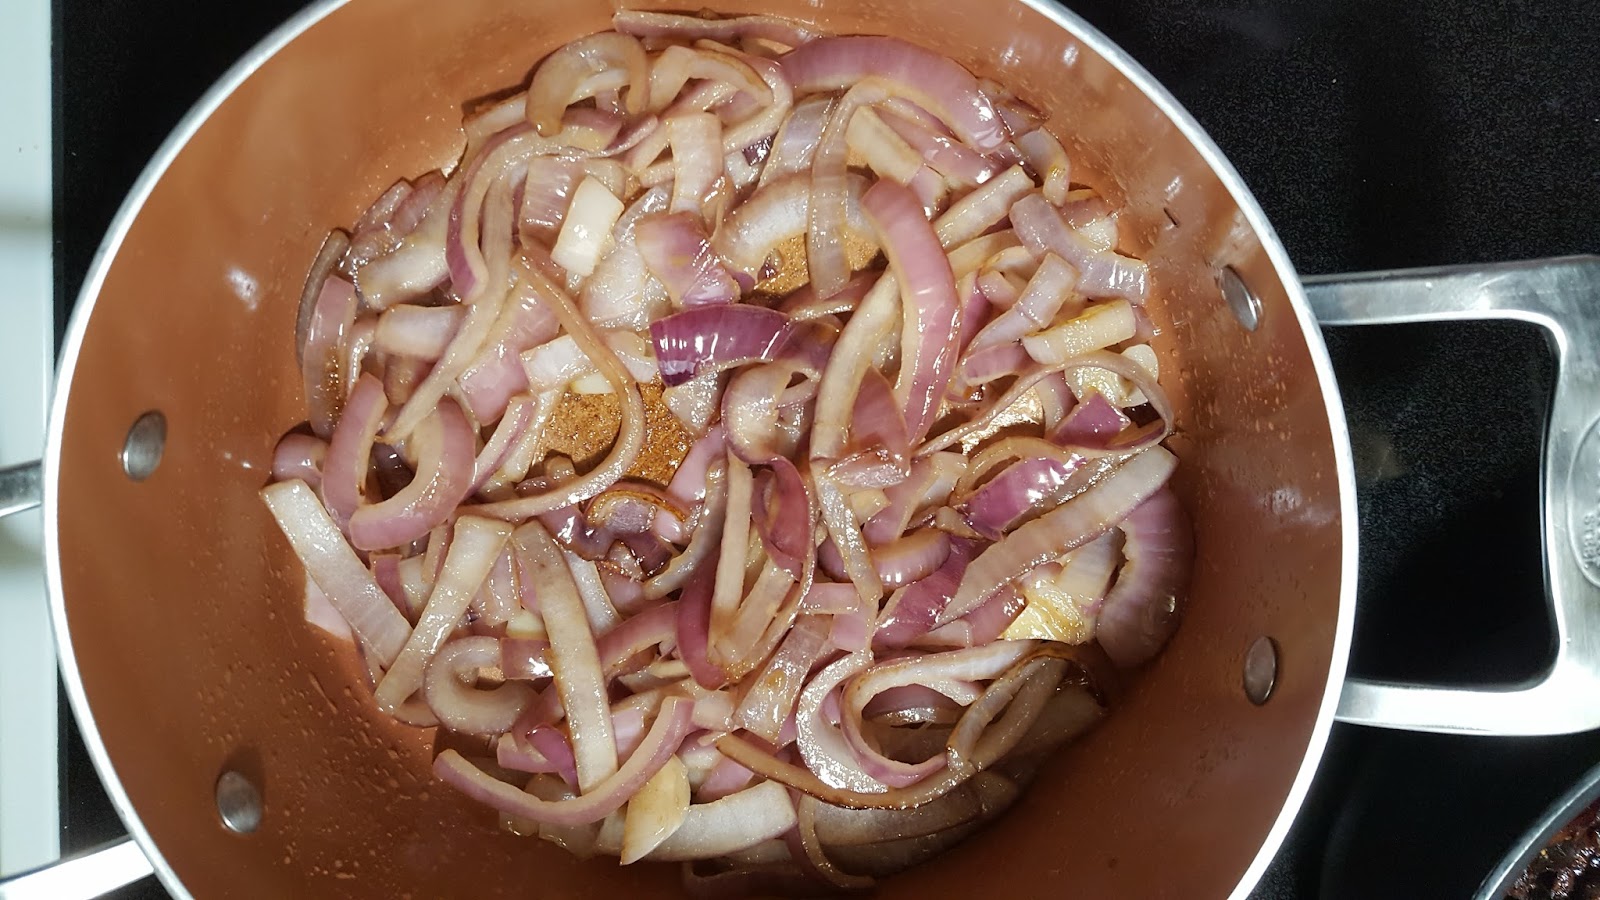
  3. Slice the red onion and toss in the oil and butter combination.
  4. Leave on medium heat and stir every few minutes, until caramelized.
  5. In a food processor, combine the figs, onion, and balsamic vinegar and blitz until combined (I decided to skip this step to make the jam more rustic… aka I was lazy to jammify it).

Great topping for bread, pizza, and anything else you can think of!

Tuesday, January 10, 2017

Making the Perfect Scrambled Eggs

Sometimes, I will hear how my friends think they cannot cook. I always shake my head and assure them that anyone can cook!

I proceed by sharing my scrambled egg recipe. I know it sounds simple, but if you can make eggs, you can make just about anything. My psychological science major reminds me that by starting with an easy recipe, it’ll help to build confidence and encourage the person to do more. Science!

I’ve learned how to master scrambled eggs thanks to Gordon Ramsey: https://www.youtube.com/watch?v=PUP7U5vTMM0. Anthony Bourdain has a similar recipe and technique here: https://www.youtube.com/watch?v=sBJESSMD8qA.

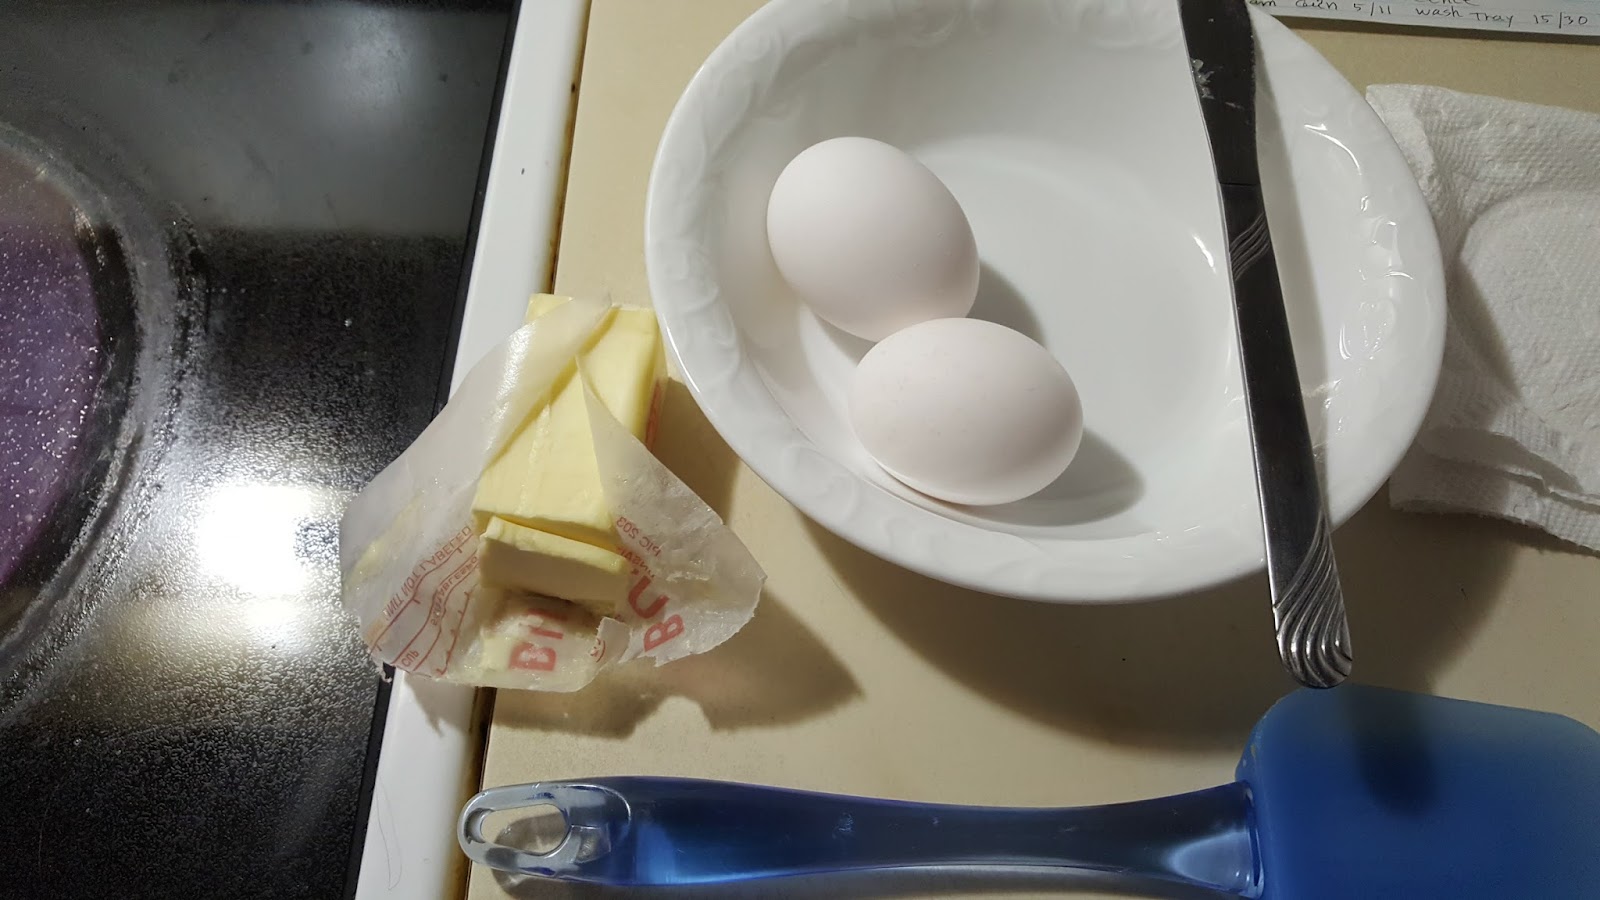
Let’s get started! Get your butter, eggs, pan, and spatula ready.
20161224_100014.jpg

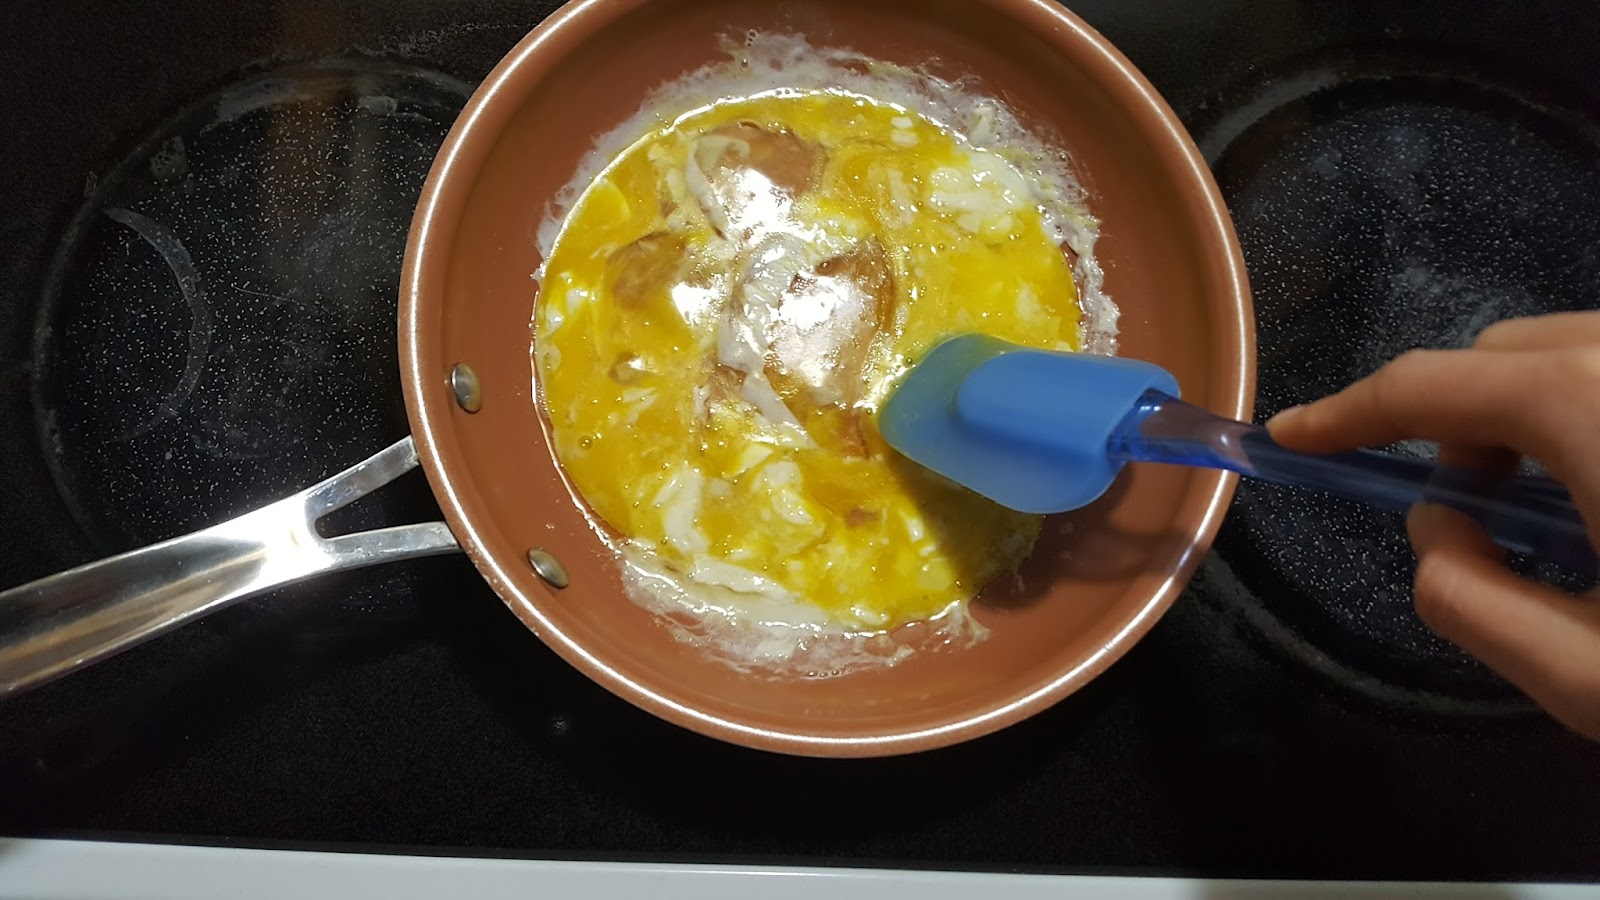
Preheat your pan on medium high heat. Once it’s preheated, throw enough butter in there to coat the bottom of the pan. Lower the heat to medium. Remove the pan from the heat and carefully crack two eggs in it. I prefer to scramble my eggs in the pan because I don’t feel like washing a bowl, but you can always scramble the eggs in a bowl if you prefer.
20161224_100039.jpg


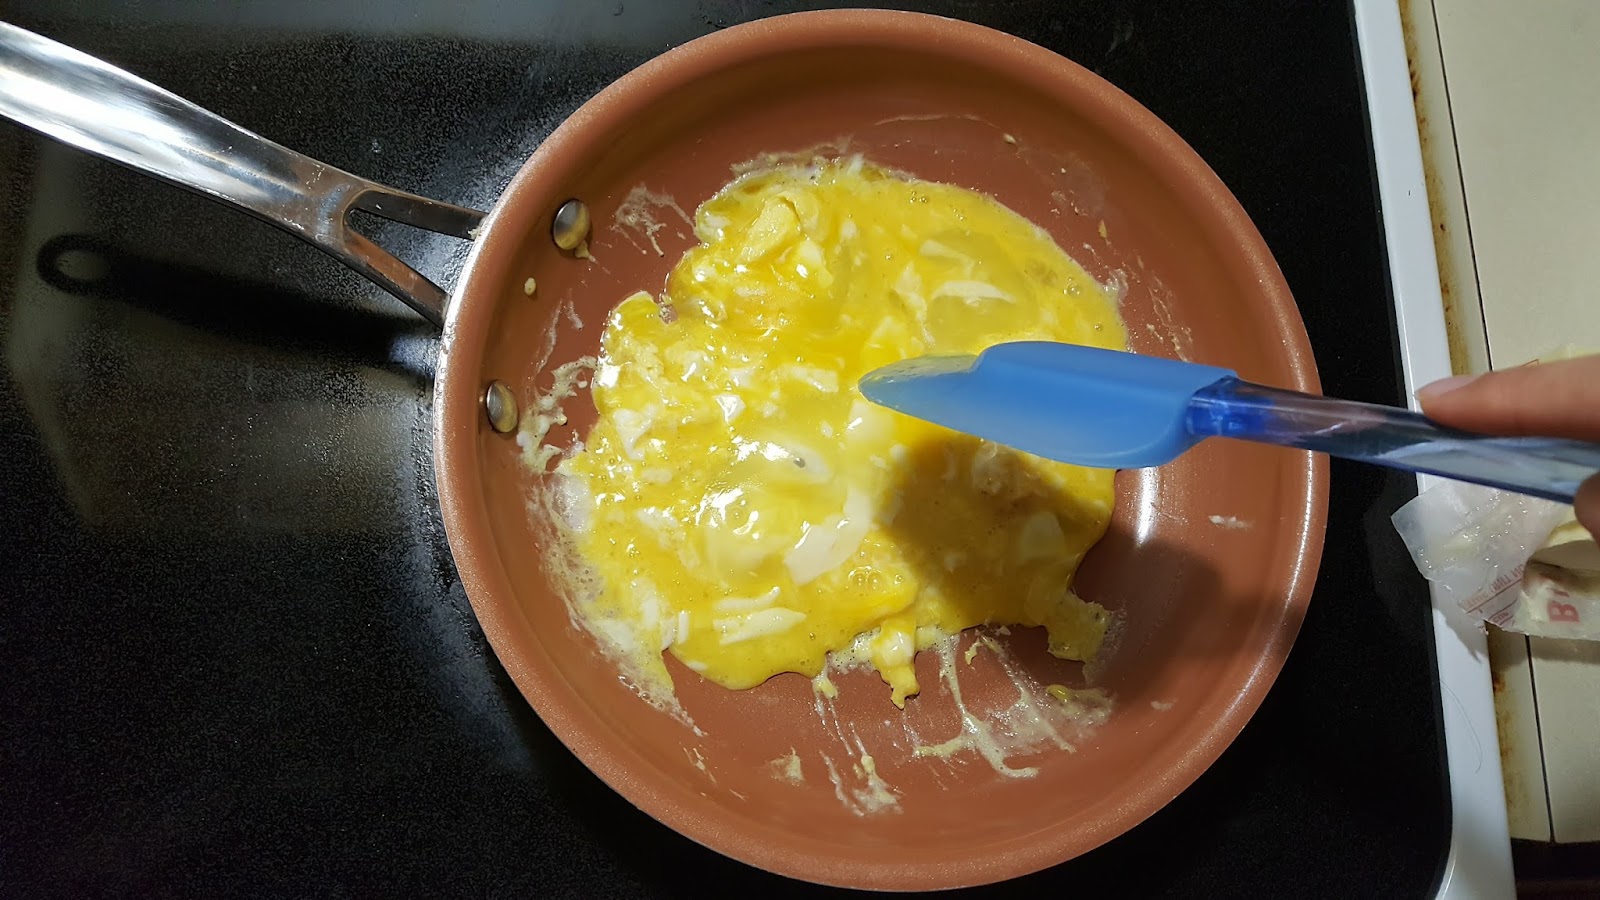
Continue to stir the eggs on and off the heat (think 15 seconds on, 15 seconds off). This gentle heat will slowly cook the eggs and the constant mixing will lead to fluffy eggs!
20161224_100058.jpg
20161224_100115.jpg

Now I know some people are apprehensive about eating runny-ish eggs, but like Gordon Ramsay said, if you want your eggs cooked all the way through, make an omelette.

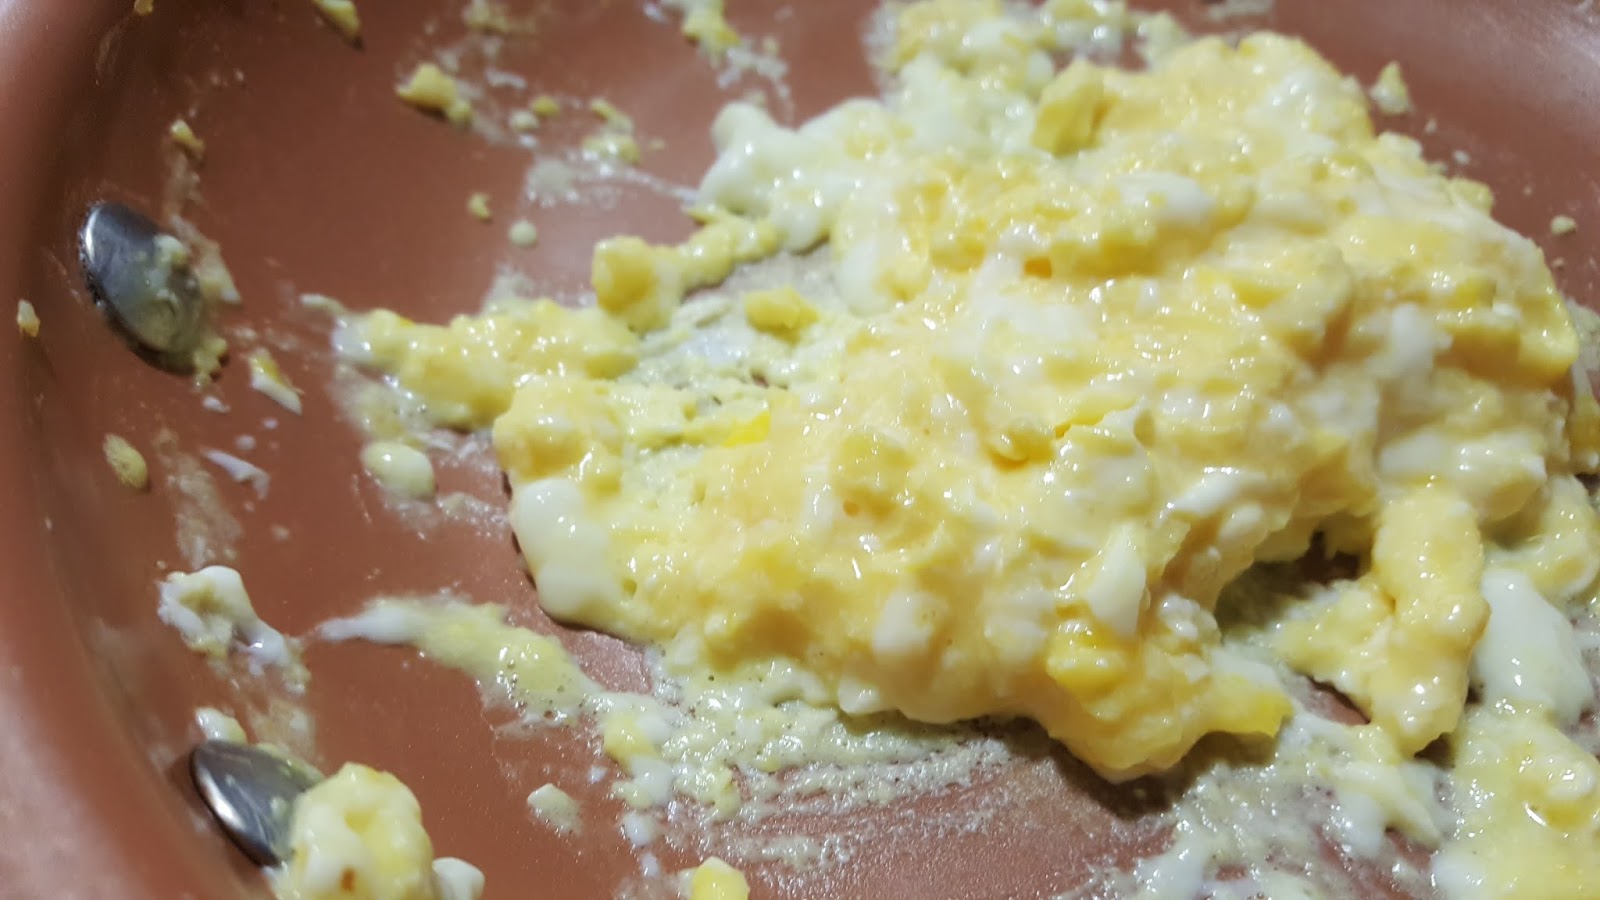
The eggs are done when they are still slightly runny (they will continue to cook from residual heat after you’ve removed them from the pan - SCIENCE). Look at the picture below - PERFECTION.

20161224_100205.jpg

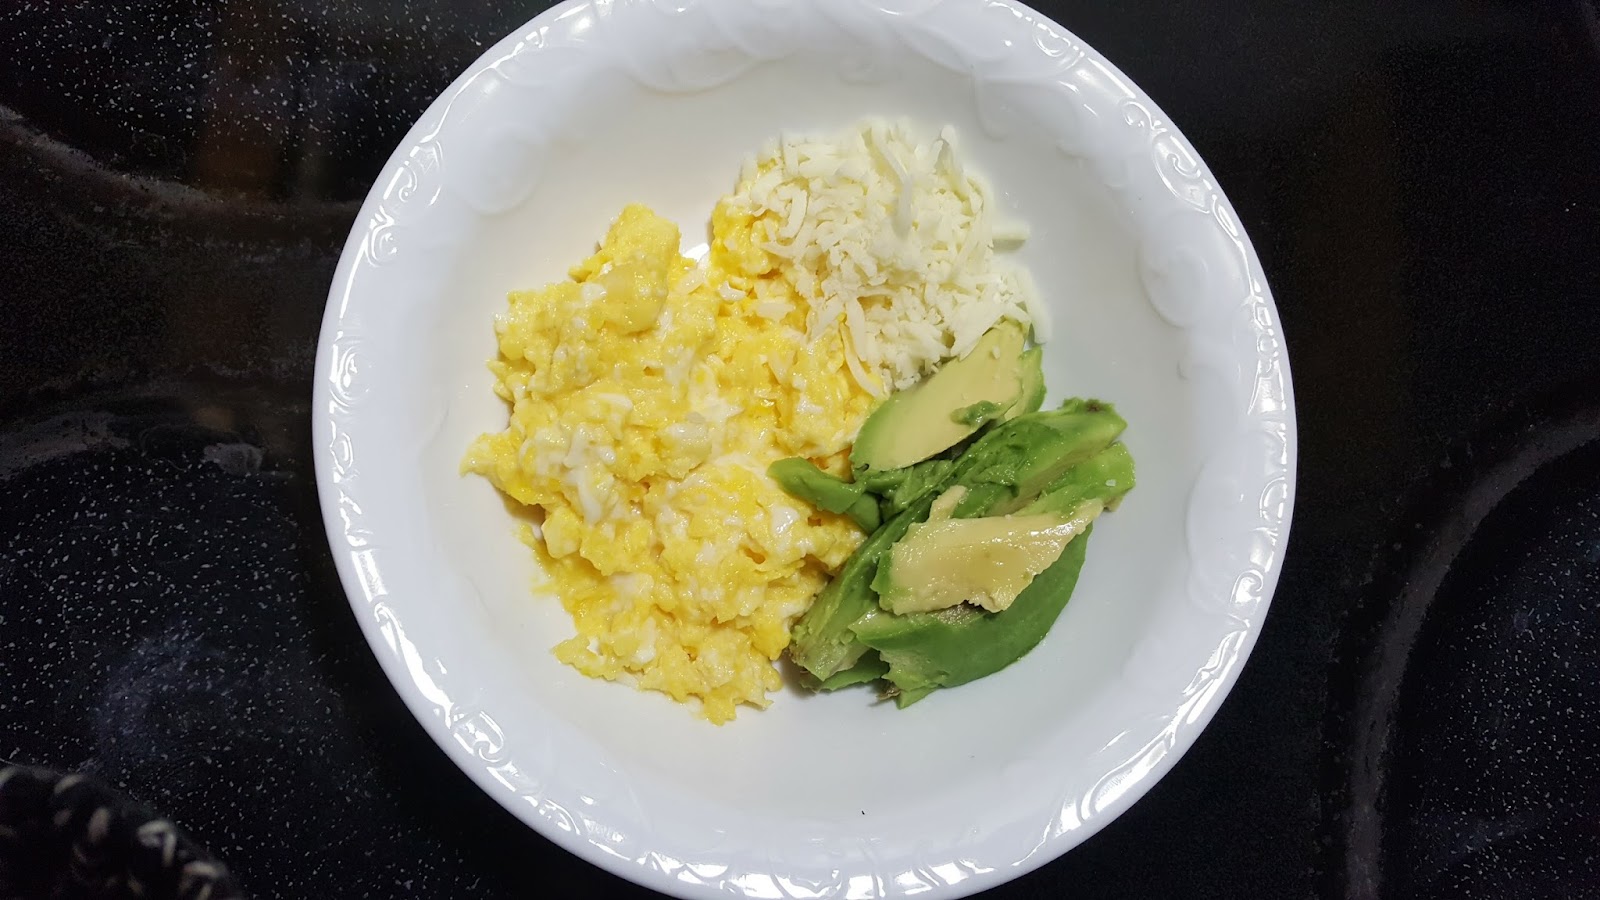
Plate the scrambled eggs and serve alongside with anything of your choice. This is where you can get creative people! Feel free to top with sauted mushrooms, stuff them inside a roasted tomato, or place the scrambled eggs on top of toast. These eggs are a wonderful vehicle to serve alongside anything and everything you can think of. My go to’s are avocado and mozzarella cheese. I also like to top with adobo seasoning and chili powder.

Now that you have scrambled eggs down, try another recipe!

Ingredients:
2 eggs
Butter
Salt and pepper to taste

Directions:
  1. Preheat your pan on medium high heat.
  2. Toss in a tablespoon of butter, lower the heat to medium heat
  3. Remove the pan from the heat and crack two eggs. Start scrambling the eggs
  4. Place the eggs back on the heat and continue stirring. Remove the pan on and off the heat in 15 second increments (always be stirring!)
  5. Once the eggs are mostly cooked through, and is still slightly runny, place on a serving dish and serve with anything your heart desires. Season with salt and pepper (avocado and mozzarella cheese are my favorite toppings)

20161224_100549.jpg

For pictures of my adventures, follow me on Instagram @Hangry_Chef!

Tuesday, January 3, 2017

Two Chefs and A Kitchen - TACO NIGHT

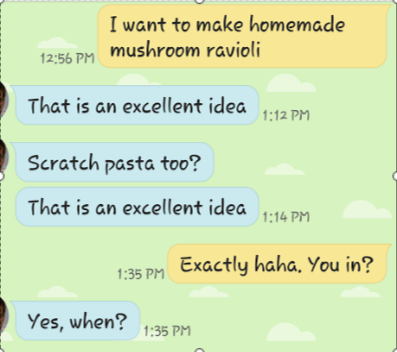
So my friend Josh and I love to share recipes, make new recipes, get donuts from local places, and eat everything in sight. We also send text messages like this to each other (he’s blue and I am the yellow box):
10.png

So the other day, we decided to make tacos! He thought of making a coconut ginger braised chicken taco and I readily agreed. And, what a great way to use the tortilla press my mom just purchased! So in order to make homemade tortillas, I mixed Harina Blanca - white cornmeal with water. I kneaded the dough for about 3 minutes until it was not sticking to me or the bowl. I let it rest for 30 minutes.


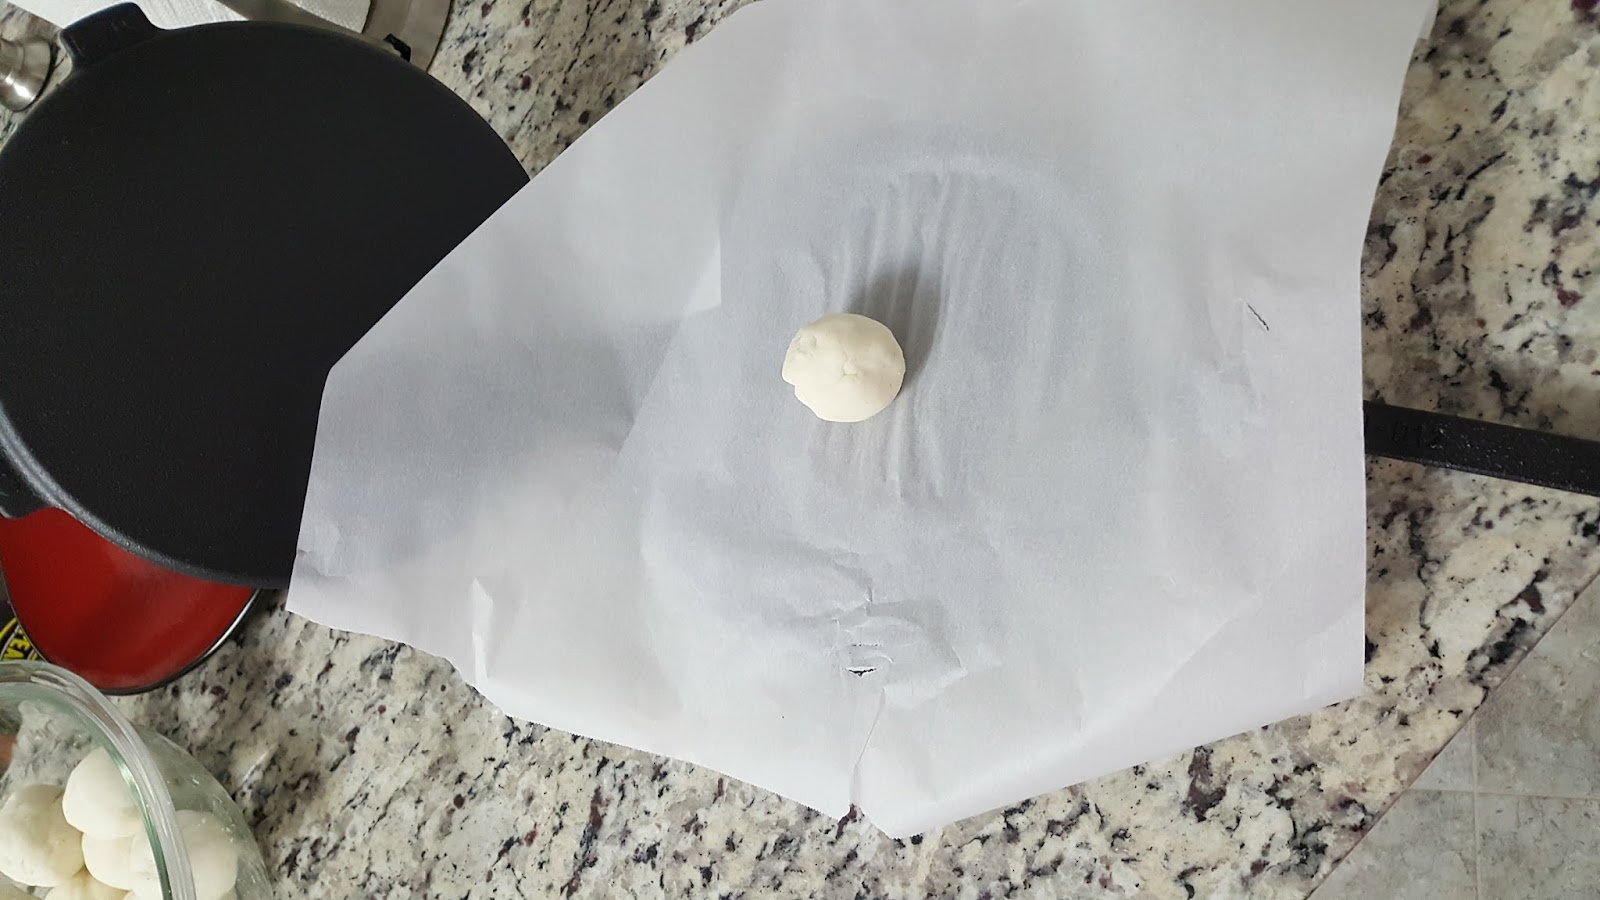
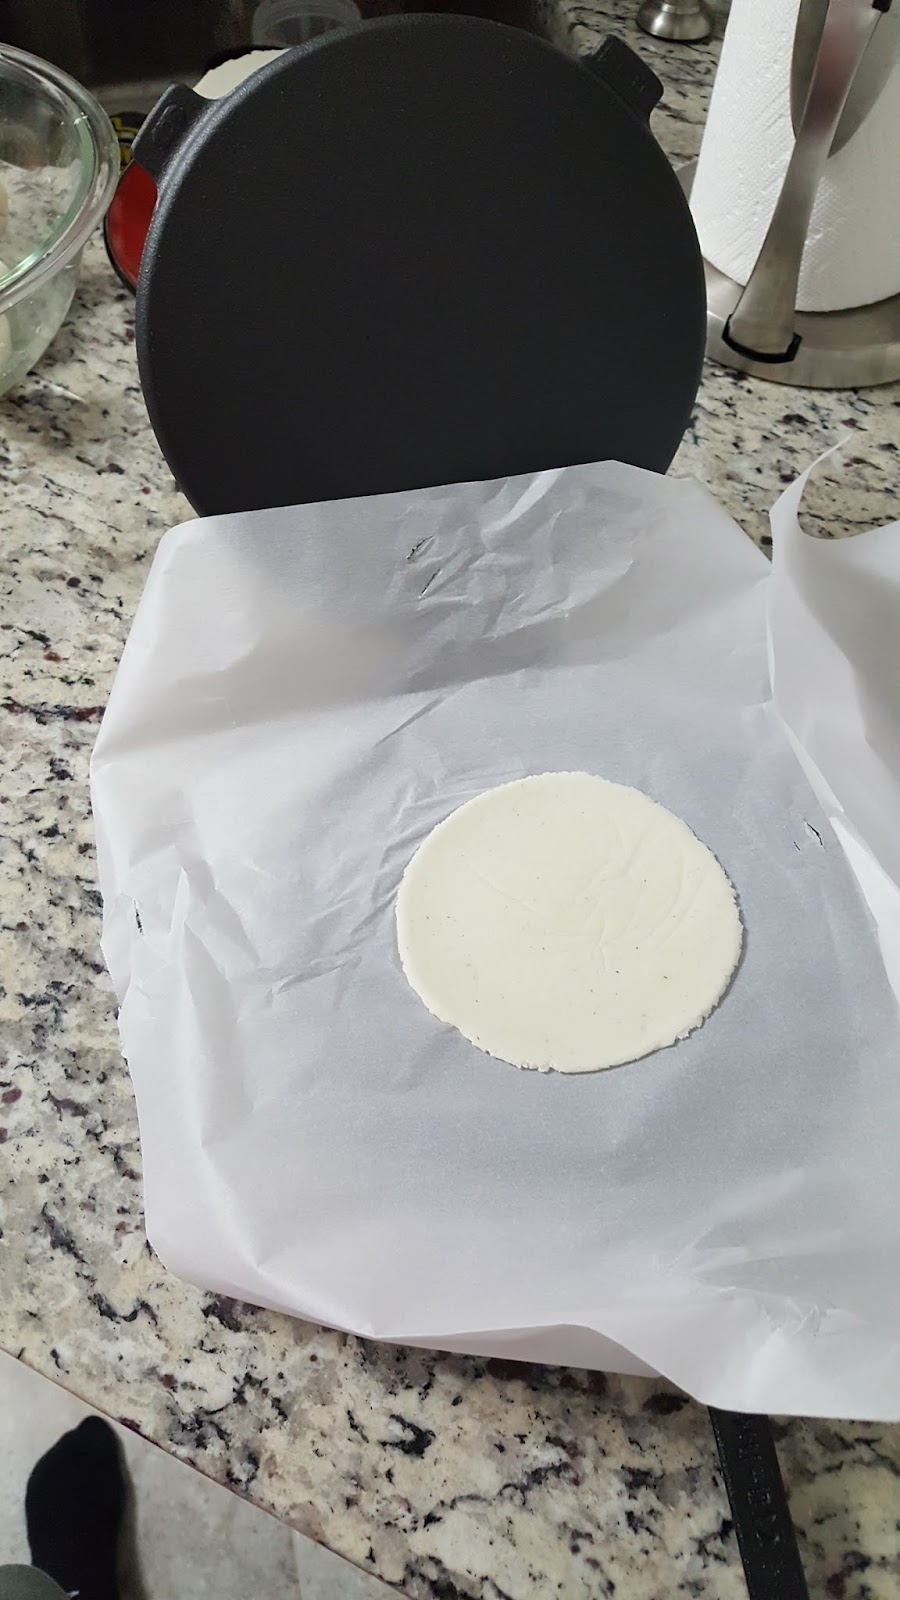
Once the dough has rested, I separated out the dough into 15-16 balls, about the size of a gold ball. I placed the dough between two pieces of parchment paper and used the tortilla press. TIP** take the dough once you have flattened it and rotate it about 180 degrees. This way, you will get an evenly flat tortilla!
20161219_175058.jpg

20161219_175219.jpg

Once the tortillas have been made, we waited until the chicken was done to fry them up. Onto the chicken!!

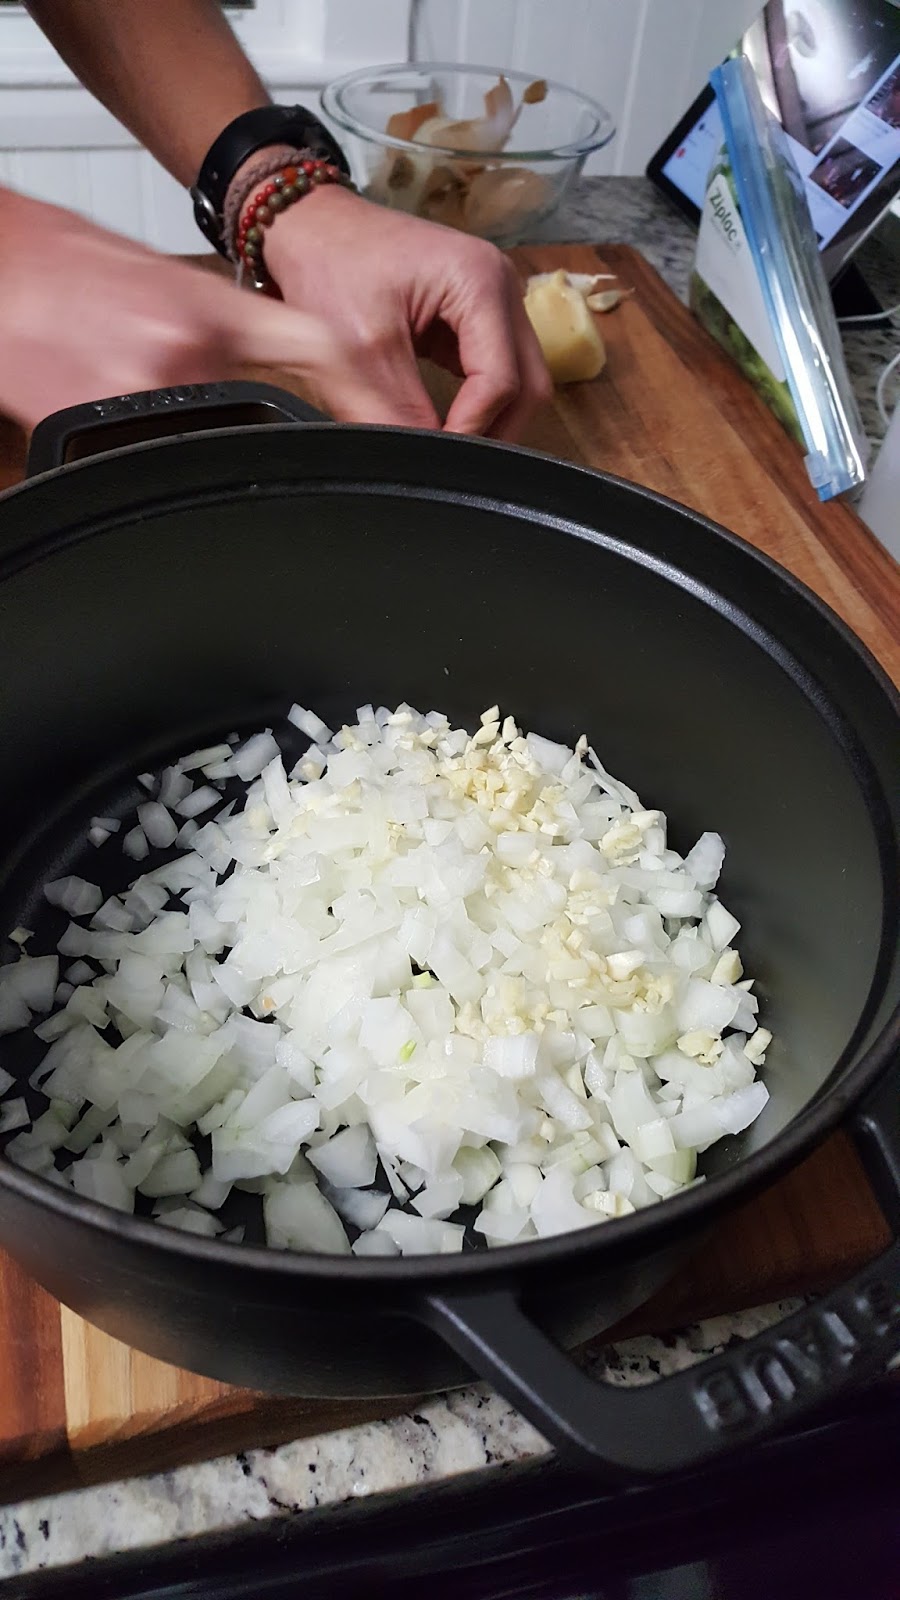
For the braising liquid, Josh chopped up some ginger, onions, garlic and tossed it into the pot. He also added salt, pepper, hot peppers, cilantro, and lime.

20161219_173700.jpg

Here’s an artsy picture of the ginger rinds. I think I’m getting the hang of this social media business.


Then, he placed a can of coconut milk and the chicken!

We let it simmer on medium high on the stove for about 10 minutes and then placed it into the oven at 400 degrees for about 45 minutes. Viola!


Now onto the tortilla frying! I sprayed the preheated cast iron pan with some cooking spray and placed the tortillas in an even layer. I fried each side for 30 seconds to a minute each side until they were getting crispy. You know you’ve done it right when you see little bubbles forming in your tortilla - this means that the water is evaporating and is making pockets of air to make your tortilla flavorful and malleable.


To store your tortillas, stack them on a plate and cover them in a moistened paper towel. This will allow your tortillas to stay warm and soft while you savor every bit of your taco.

Here is the finished product:
20161219_191948.jpg


Ingredients:
Tortillas:
2 cups P.A.N. Harina Blanca
1 ¼ c water
1 tsp of salt (I did not add the salt and I wish I did)

Braised Coconut Ginger Chicken:
3 lbs of chicken
Cilantro
¼ c ginger, sliced
1 onion, chopped
3 dried chili peppers
2 tsp cayenne pepper
Salt and Pepper
1 can coconut milk
1 lime, juiced

Additional limes, carrots, and avocado to top the tacos with

Directions:
Tortillas:
  1. Combine the corn flour, water, and salt in a bowl
  2. Knead the dough for 3 minutes. The dough should not stick to you or the bowl. If it does, add a tbsp of the corn flour at a time and knead.
  3. Let the dough rest for 30 minutes
  4. Once rested, divide the dough into 16 golf sized balls
  5. Line the tortilla press with parchment paper and place the dough in the press. Press down firmly, rotate the dough 180 degrees, and press the weight down again
  6. Repeat until all of the dough is gone
  7. Once you are ready to fry the dough, preheat a cast iron skillet on med high heat
  8. Coat the skillet with cooking spray, lard, or any other fat of your choice
  9. Fry the tortilla on each side for 30 seconds to a minute, until both sides get crispy
  10. Stack the tortillas wrapped in a moist paper towel
  11. Serve immediately

Chicken:
  1. Preheat the oven to 400 degrees F
  2. In a dutch oven, place the onions, garlic, dried chili peppers, ginger, cilantro, salt, pepper, chicken, coconut milk, and cayenne pepper.
  3. Heat over med high heat for 10 minutes
  4. Place the chicken in the oven for 45 minutes
  5. Shred the chicken, strain the braising liquid, and place both back in the pot to serve

Assembly:
  1. Take a tortilla, top it with the chicken, carrots, avocado, cilantro, and juice some lime over it all.
  2. Repeat step 1 until ALL of the tacos are gone

Saturday, December 24, 2016

Hong Kong Eats

I LOVE Hong Kong. It’s a beautiful place where you can run along the harbor, find some great views of the high rises, and eat phenomenal food of all cuisines! Here are some of my favorite eats in HKG.
20160423_091256.jpg


Megabox is known for a great place to eat lunch. Once day we went on the 10th floor and found this restaurant. I had rice with eel, cheese, tomatoes, and of course a fried egg. LOVE


20161207_130334.jpg


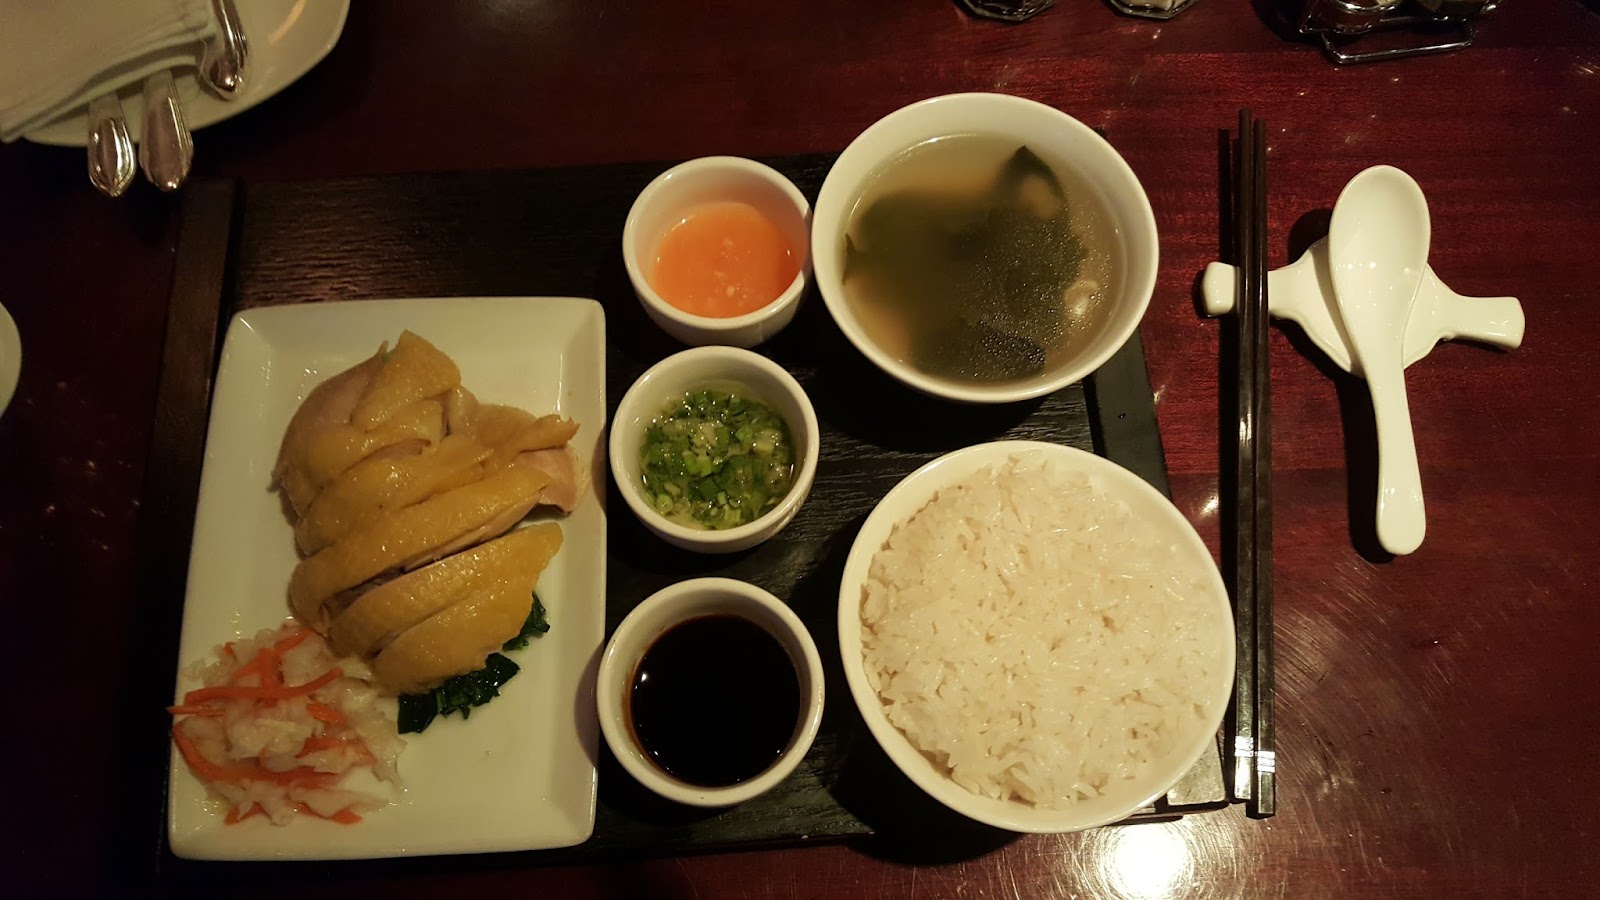
At Tiffany’s, they served Hainanese Chicken. This is basically succulent steamed chicken, served with 3 sauces: plum sauce, scallion oil, and a chili sauce. The dish was accompanied by bok choy, pickled veg, rice, and soup.
20161208_193928.jpg


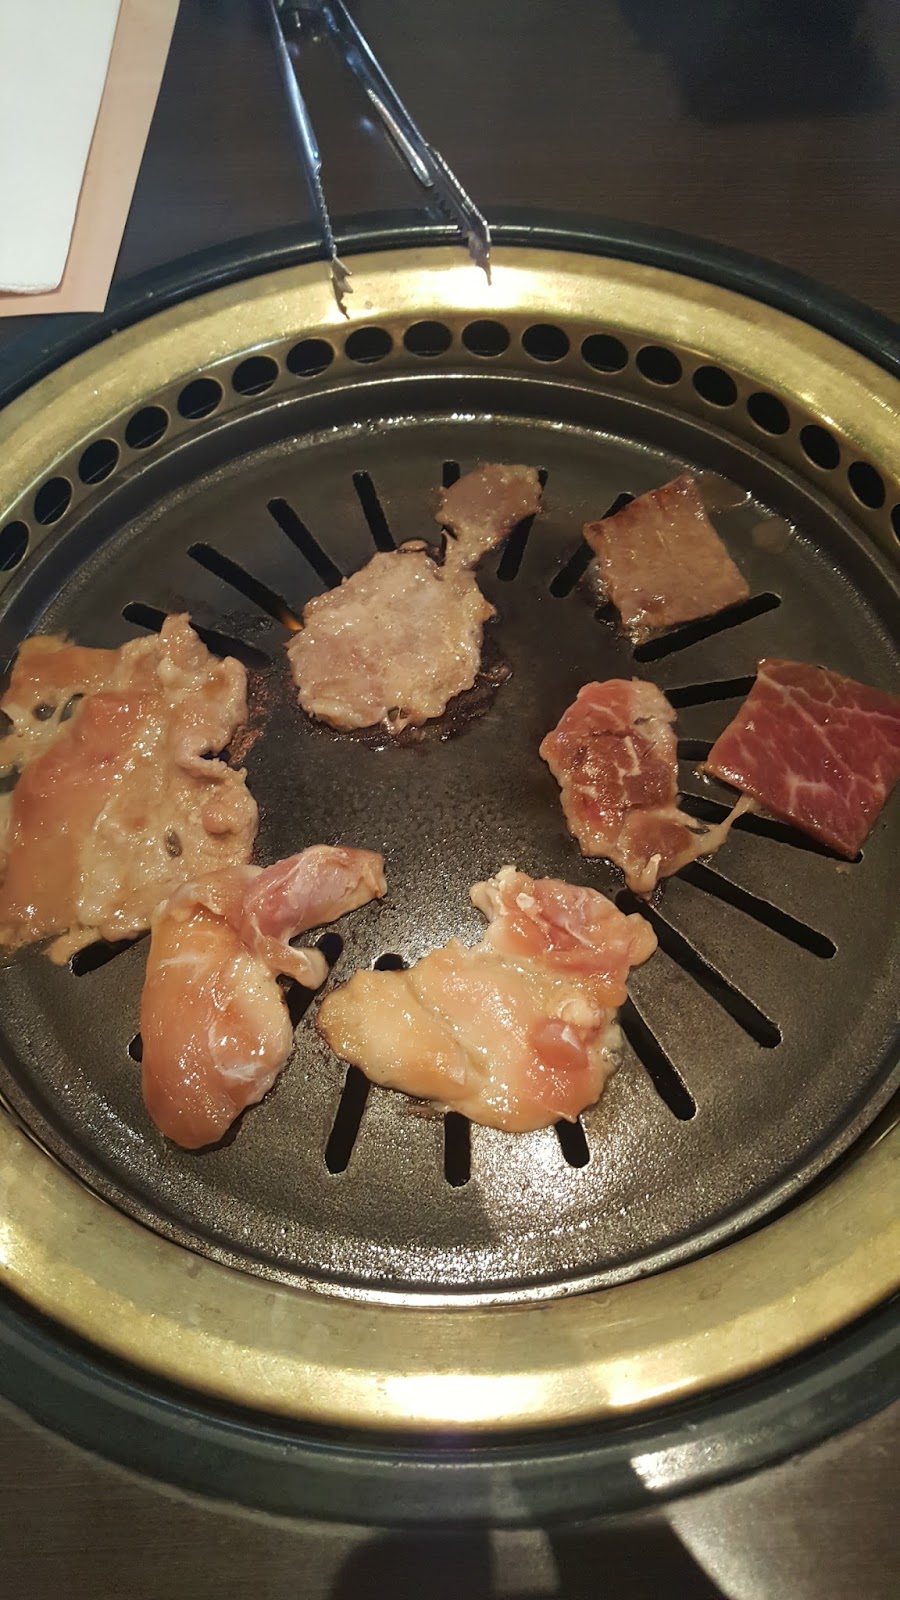
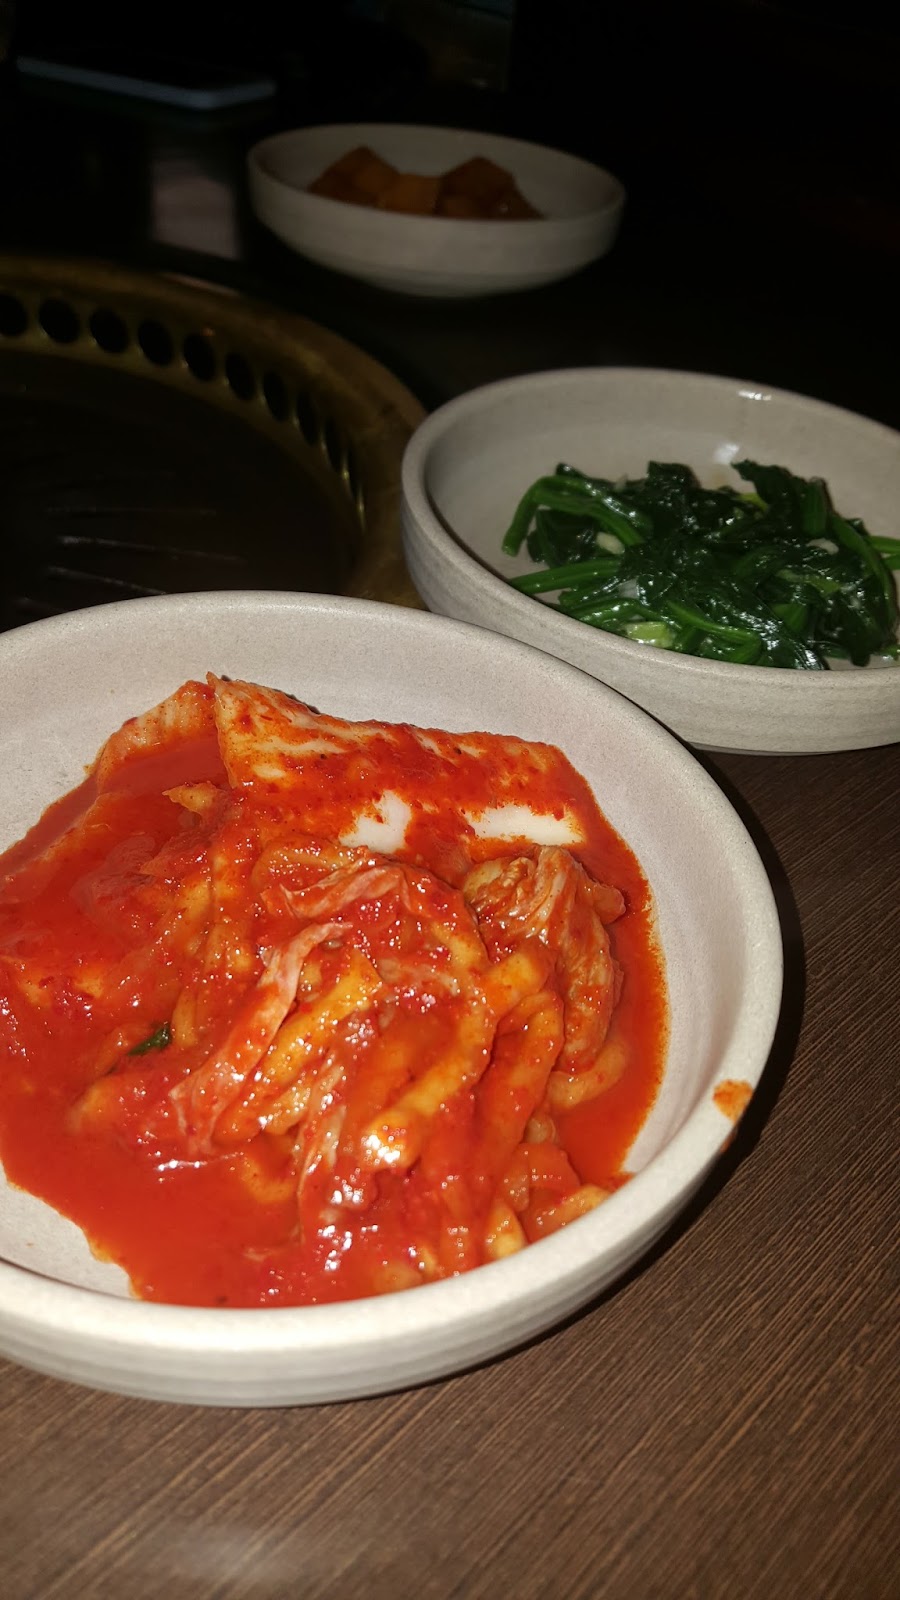
A good friend of mine took me to Discovery Bay, a quiet island where a lot of foreigners live. We sampled Korean BBQ at First Korean Restaurant! As our meal, we had a sample of marinated meats, scallops, and an assortment of sides (look at the kimchi)!


20161210_135559.jpg    20161210_134942.jpg


Per my boss’ recommendation, I went to Maxim’s Palace which is on the second floor of City Hall. This restaurant is one of the few places that still serves dim sum by the carts, and it is AMAZING. Look at these braised chickens feet, pork shumai, and rice noodle rolls filled with shrimp!

20161211_104957.jpg


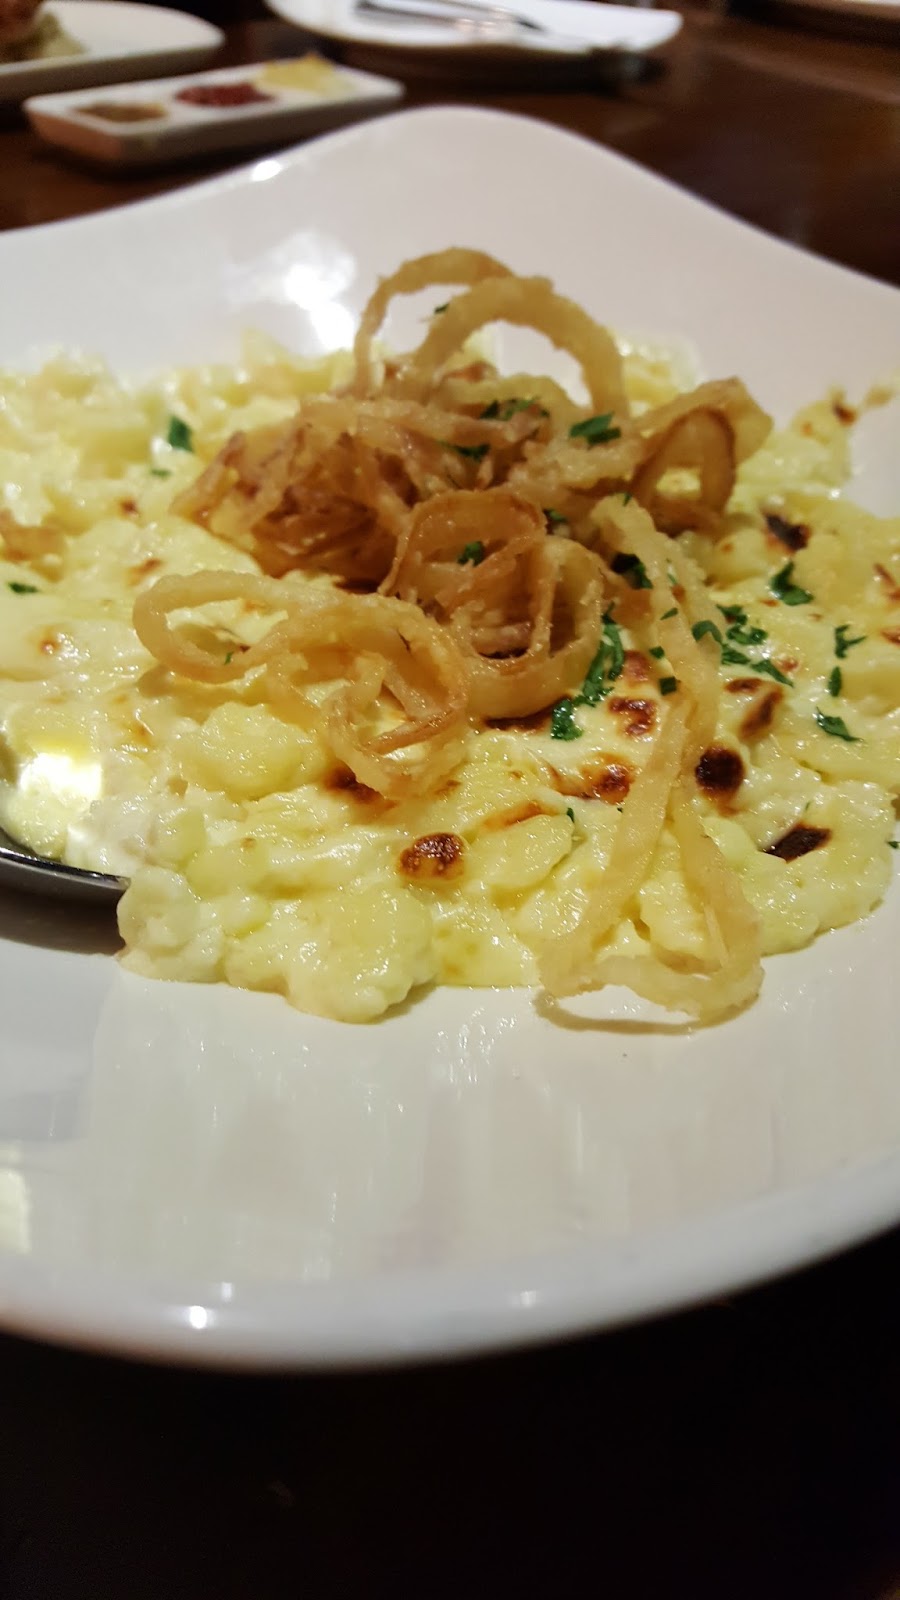
For my birthday, we went to Brotzeit German Bier Bar & Restaurant. My friend and I split the Cheese Spatzel (which I could eat every single day of my life). Imagine mac and cheese but with misshaped pasta and a gooey-er cheese sauce. What more could you want in life?!
20161212_211208.jpg


Of course I had to have garlic sausage with sauerkraut.


There’s a horse race track right in the middle of a city in Hong Kong called happy Valley. It was a great place to bet as little as $1-2 USD per race, as well as eat fried potato wedges with sour cream, cheese and bacon. I ordered the rice, bbq pork, and bbq duck (when in Hong Kong, amiright)!
2016-12-14.jpg


20161214_193140.jpg


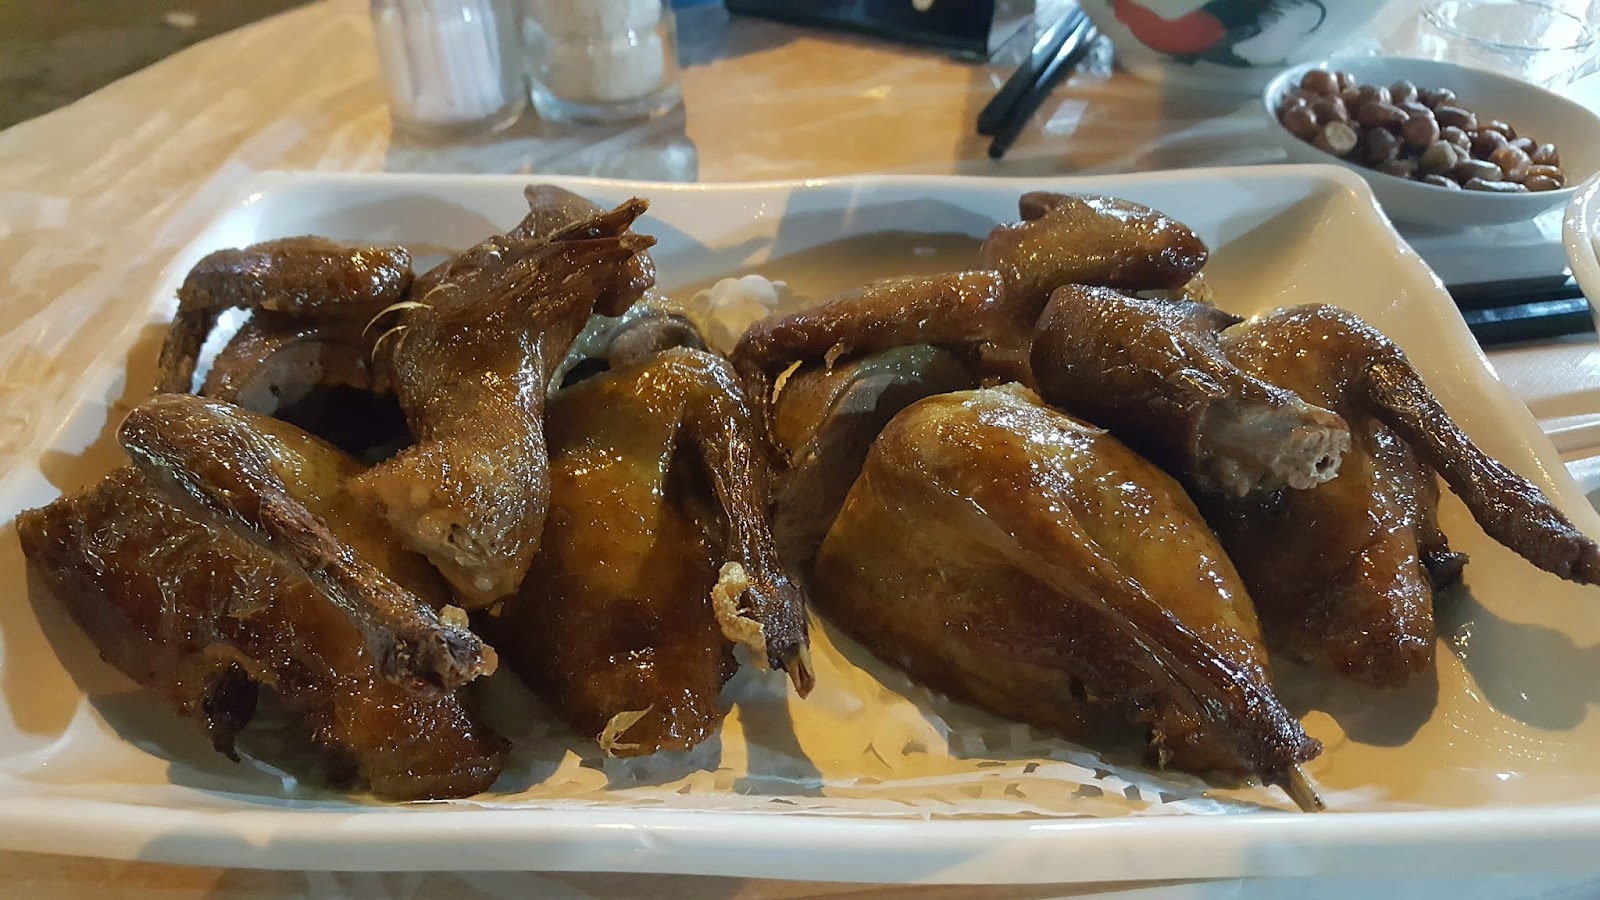
Now for the star of the show - real Hong Kong food where the servers do not speak English and the menu has pictures of the food. I would recommend going to Chung Chung Food Shop with someone who can speak the local language to help order. My recommendations: clams in the black bean sauce, fried squid, fried garlic tofu, and pigeon.


Yes, you read that correctly. Pigeon. Now I know this in the U.S. is considered a bird that eats the trash on the streets. But these pigeons are raised to be eaten. The meat is similar to duck but has more flavor. Promise me you’ll give it a chance, you won’t regret it!
20161213_194812.jpg

20161213_193449.jpg


Monday, December 5, 2016

Getting Fishy

Who doesn't love fish? Unless you're in a small office and someone reheated last night's salmon. But other than that, I really enjoy eating all different types! One of my favorites is the Palmburo fish, which was introduced to me by my dad. Although the fish isn't as well known as salmon or halibut, this fish should become a staple in your diet. It's readily available at Asian stores such as V Mart in Lowell, MA or H Mart in Burlington, MA.

It's a white fish with an amazing subtle but flavorful flesh. Here's a picture of it. I made two since I am SUCH an amazing little sister and made lunch for my older sister.

Inside, I stuffed it with scallions and fresh sliced ginger. I also added a little pinch of salt. I coated the outside with some olive oil so that the skin would not stick to the foil. 

Hipster side view

I baked the fish in a preheated oven at 350 degrees F for about an hour. I carefully flipped them over halfway to cook on the other side. And to crisp out the skin, I broiled them for 2-3 minutes. 

Drooling. 
Although it isn't a problem with this fish, I know some people have issues getting small fish bones stuck in their throat. One time it happened to me and I thought that it was just something I'd have to live with. Fortunately, my mother came to the rescue and told me to make a little ball of rice and swallow it whole. The rice dislodged the fish bone without ANY issues. What would we all do without moms??

Palmburo Fish

Ingredients:
1 palmburo fish per person (cleaned)
A thumb size piece of ginger, sliced
1/4 bunch of scallions, whole
Salt
Olive oil

Directions:

  1. Preheat oven to 350 degrees F
  2. Cover a flat pan with foil and coat with olive oil
  3. Place sliced ginger and scallion in the cavity 
  4. Salt cavity and both sides of the fish
  5. Bake fish for 30 minutes, and flip to the other side
  6. Bake for another 30, or until the eyes have turned white and have popped out a little
  7. Broil to crisp up skin for 2-3 minutes. Keep an eye out to ensure you do not burn the skin
  8. Remove from the oven, set aside for 5 minutes to cool.
  9. Serve and enjoy! 
Some dipping sauces that I enjoy with this fish is some soy sauce mixed with Tabasco